installation ClearOS
Installation Of ClearOS 6.3.0 With Screenshots
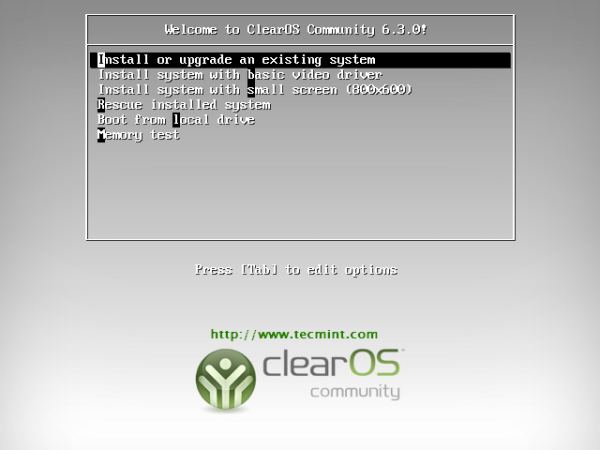
Boot the Computer with ClearOS 6.3.0 Installation CD/DVD or ISO.
1. Select Install or upgrade ClearOS 6.3.0
2. Welcome screen of ClearOS 6.3.0
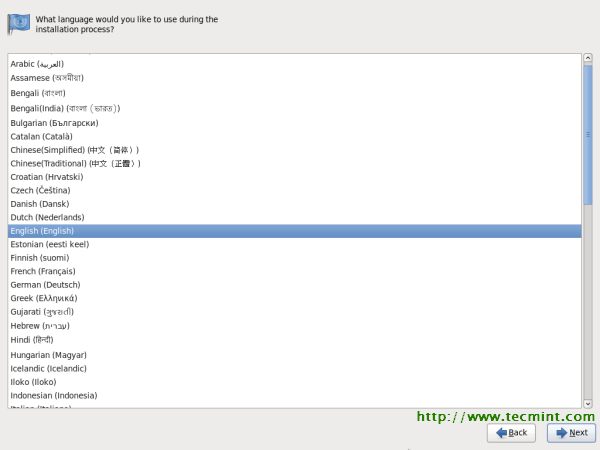
3. Language selection.
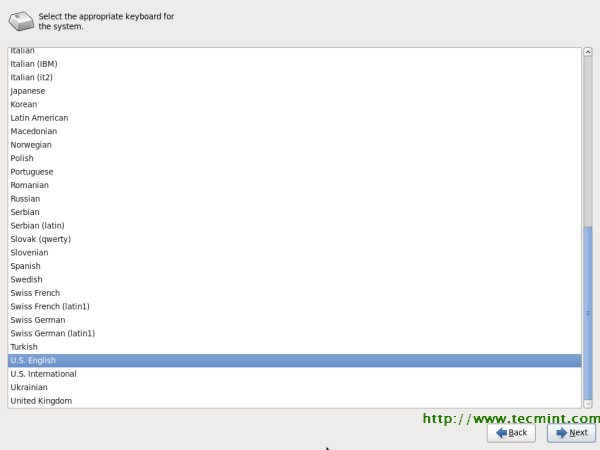
4. Keyboard selection.
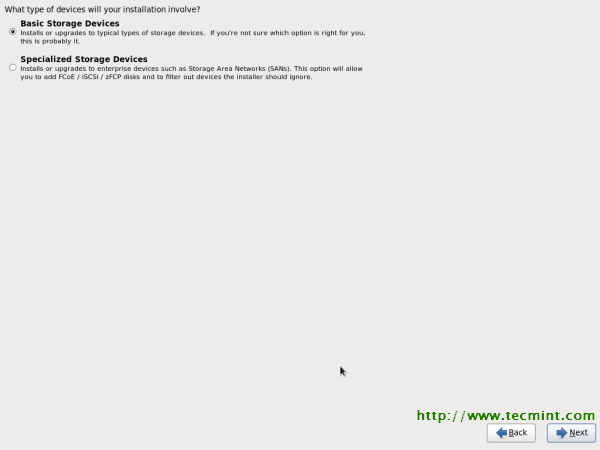
5. Select Basic Storage device, if your hard drive is locally attached.
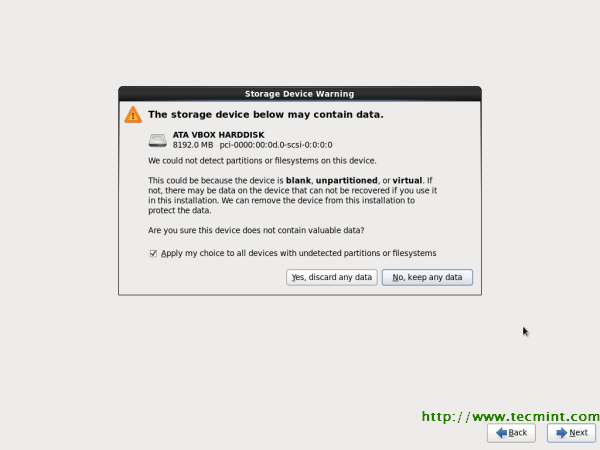
6. Storage Device Warning, Click yes, discard any data.
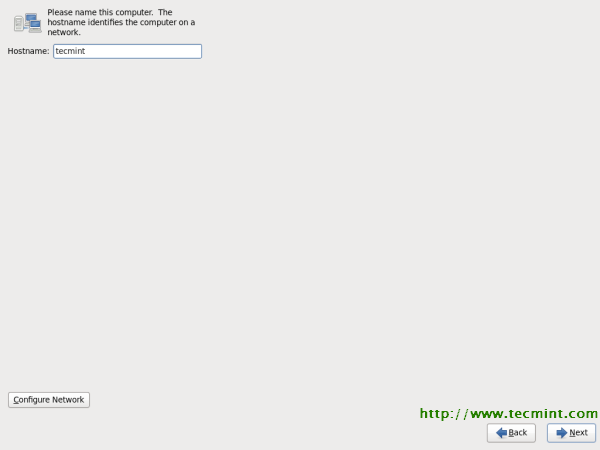
7. Give a Name to your system. You may Click on Configure Networkbutton if you want to configure Network during installation.
Note: Click Wired tab and click on add button. Select Connect automatically, go to ipv4 settings tab and select Method and selectManual in drop down. Fill address box with IP Address, Netmask & Gateway. In this howto’s I’m using IP Address 192.168.50.20 for this system. The IP Address may differ in your environment.
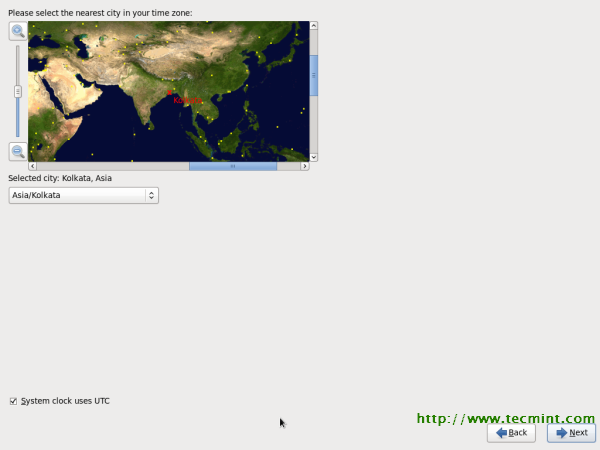
8. Select nearest city in your time zone.
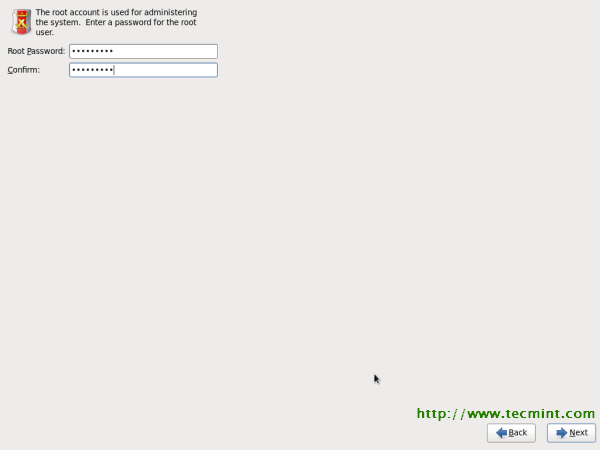
9. Enter root password.
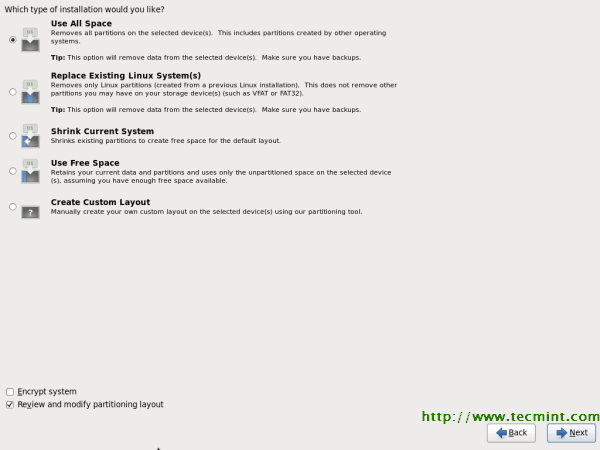
10. Select Partition types as per your need.
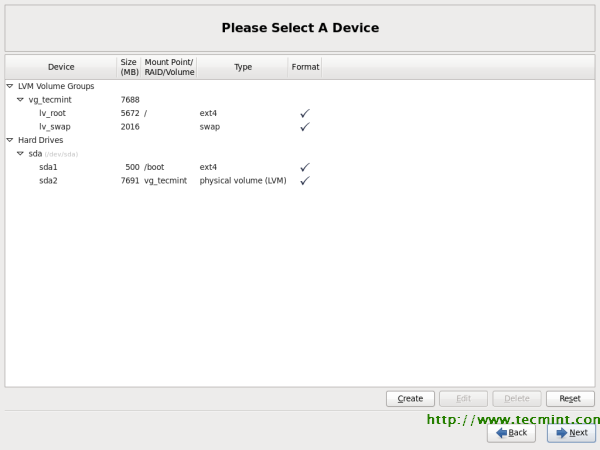
11. Verify Partitions or you can edit filesystem partition If you like.
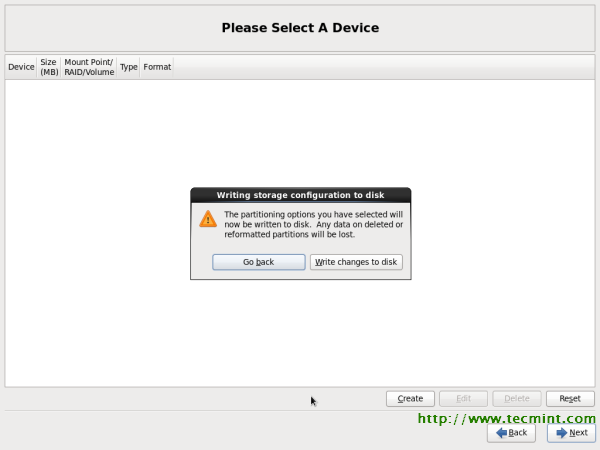
12. Select Write changes to Disk.
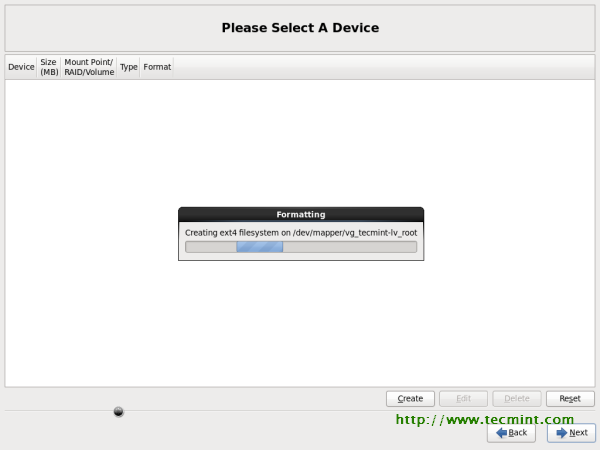
13. Filesystem formatting.
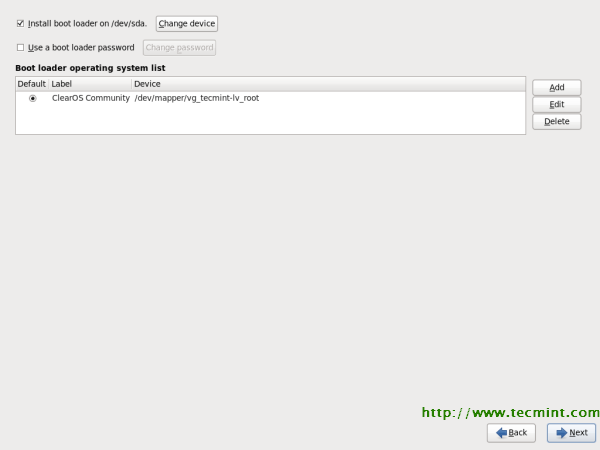
14. Bootloader options. You can give bootloader password to enhance security.
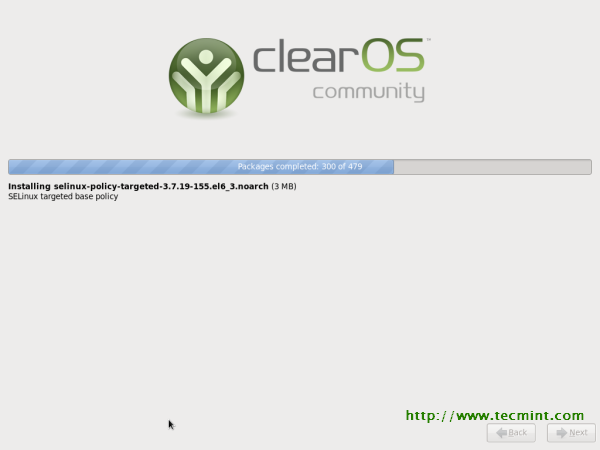
15. Installation started, this may take several minutes.
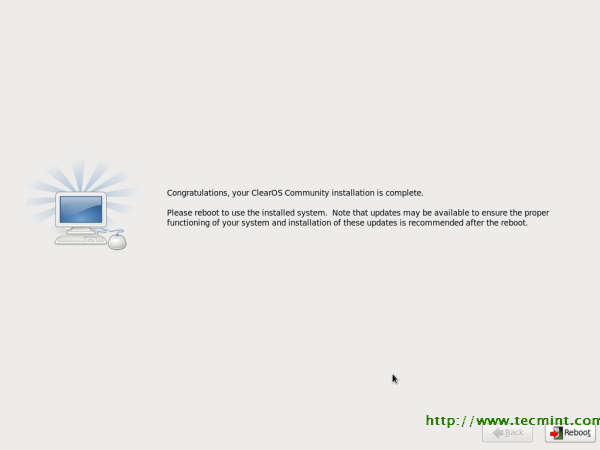
16. Installation completed, Please remove CD/DVD and reboot system.
17. After reboot, First screen of Clear OS.
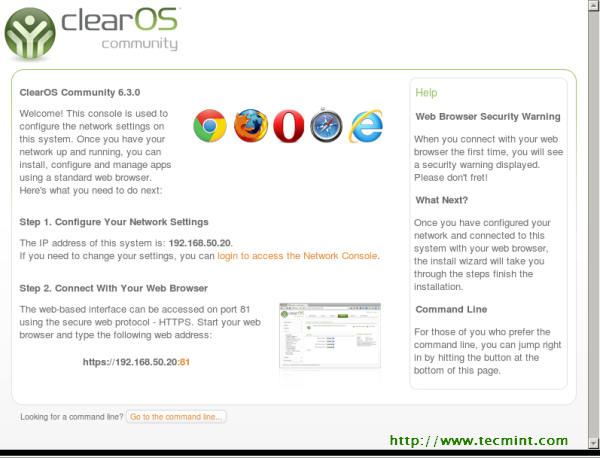
18. Post installation, you will get below screen where we can use browser to configure ClearOS 6.3.0 using URL to connect web interface (https://192.168.50.20:81).
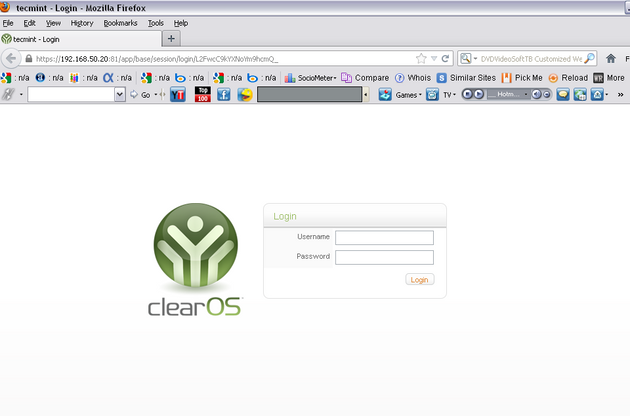
19. Open ClearOS Web Interface in a browser with root user andpassword for initial configuration.
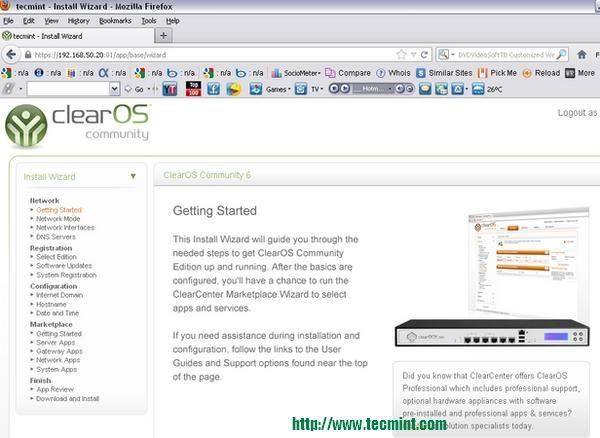
20. Installation Wizard will come up and follow the instructions as it says.
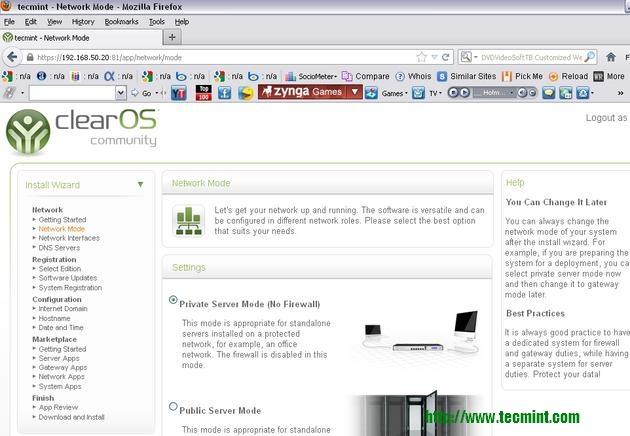
21. Select modes, Private Server Mode (for local network) is appropriate for this scenario (Without firewall)
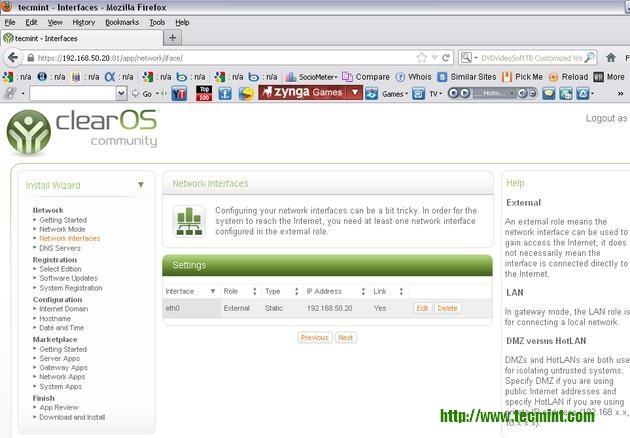
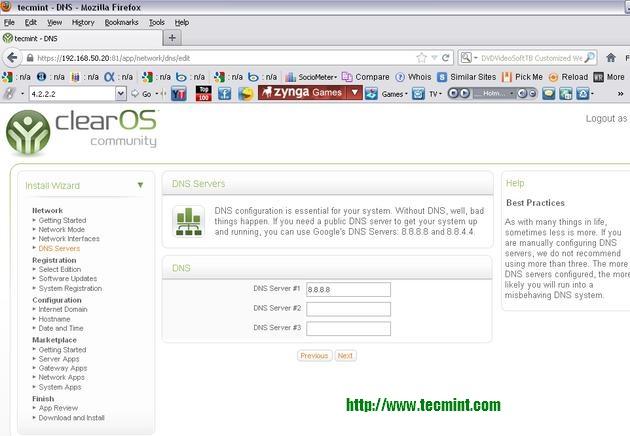
22. Next two steps is for Network Setting, you can edit Network Settingshere if you want.
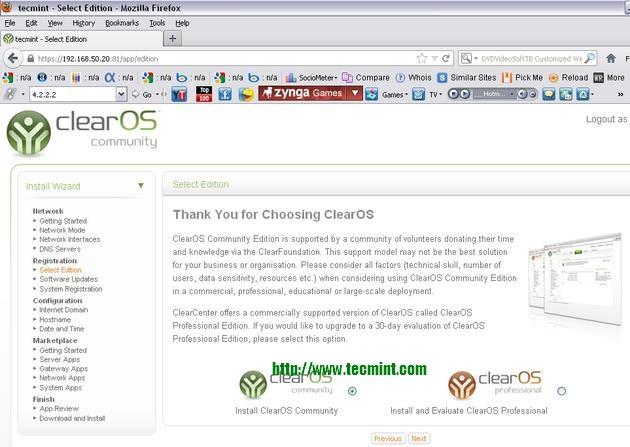
23. Select ClearOS Community Edition or ClearOS Professional. VisitClearOS Website to know more about differences.
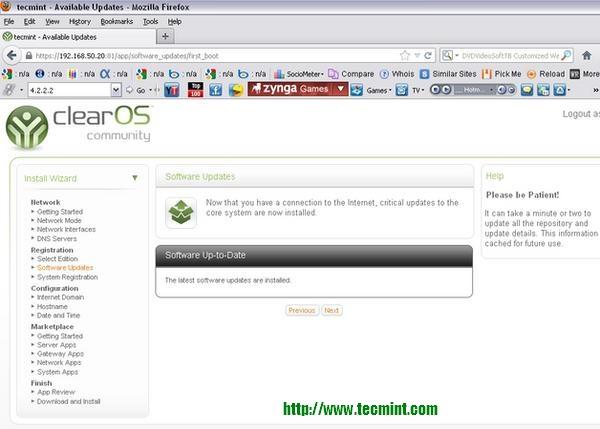
24. Next step for software updates if any


